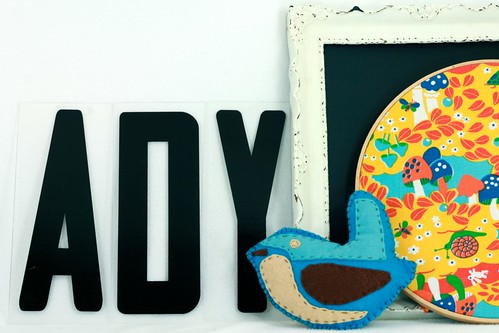
Here is a little wren I sewed for a friend's new baby. My daughter's name is Ady Wren, so I had to snap a shot of the wren hanging out next to her first name. Add a vintage frame and some yummy vintage fabric, and my eyes start to smile. :)
The wren was super simple to make. First, I traced the wren body shape on a sheet of paper that is folded in half. Then I drew all the pieces onto the bird shape. Cut around the main body shape first. You will end up with two templates: a full body and the one with all the insides drawn on.
Take the layer that has all the inside pieces on it and cut them all out. When you're done you will be guaranteed that the inside shapes will fit inside the main bird body.
Then I pinned the shapes to different colors of felt and cut out two of each shape.
Starting with one side, lay out all the pieces and pin them in place. I did a simple running stitch around each shape with two strands of embroidery floss. (I unwound the six strands and only used two to sew with.)
Once I was done with one side, I did the same thing to the other side. Once both sides are done, I pinned them together and did a blanket stitch around leaving about 1.5-inches open for stuffing.
I stuffed this little wren with a bit of cellophane to make a fun noise for baby and a little polyfill to make it a little three-dimensional and more cuddly.
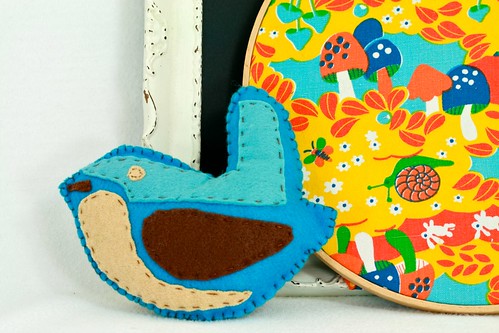
Then I finished the blanket stitch, closed it off, and this little wren is all done!
Sweet and simple!


0 Reactions to this post
Add CommentPost a Comment